Node- email 전송, nodemailer
in Javascript
참고
[1] https://nodemailer.com/
메일 서버와의 연결
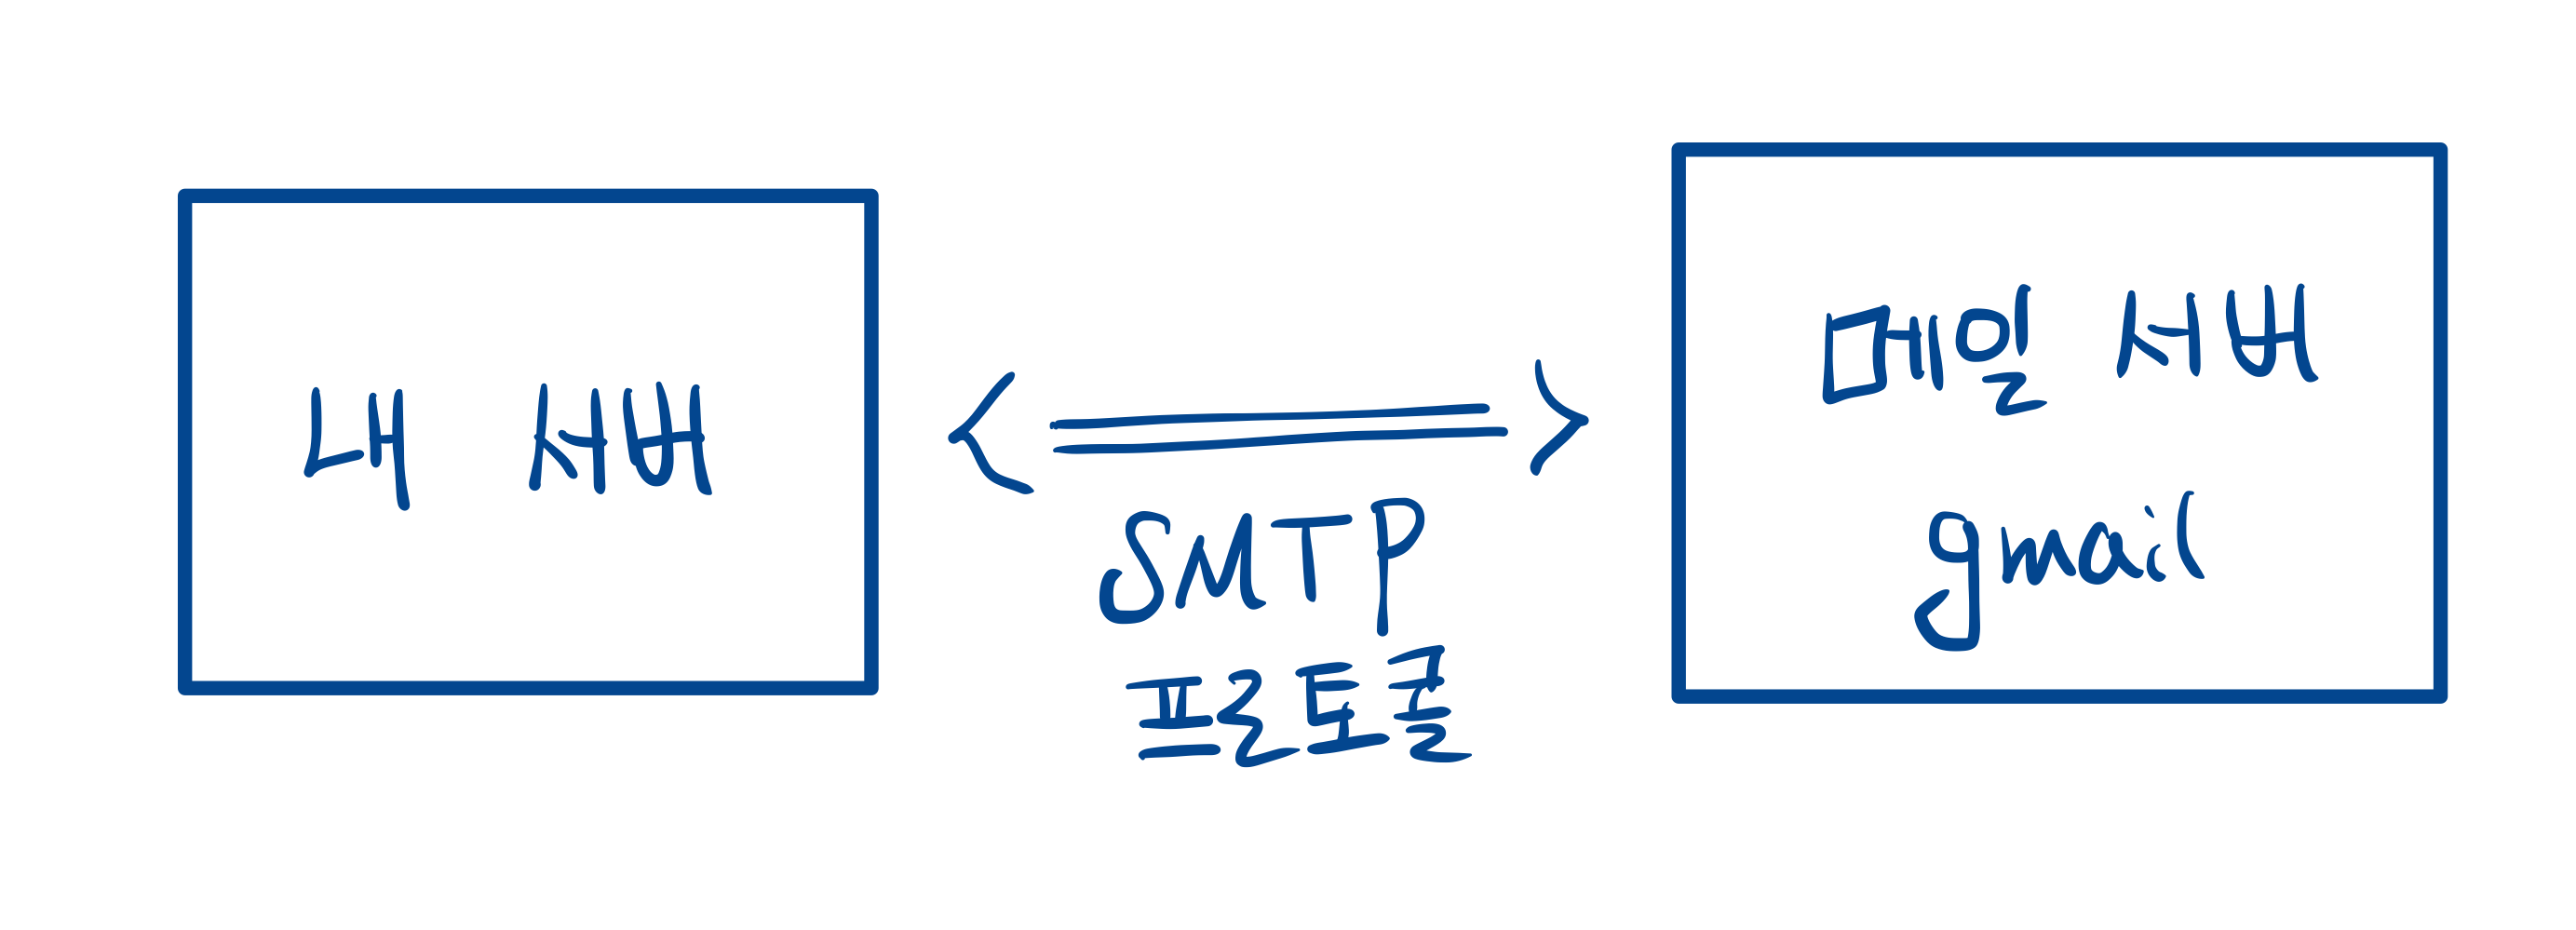
- 이메일을 보내는 방법에는 다양한 방법이 있지만 여기서는 메일 서버와 연결한 뒤 SMTP 프로토콜을 이용해서 이메일을 전송한다.
- 여기서는 메일 서버로 smtp.gmail.com 를 이용할 것이다.
- SMTP 방식이 뭔지는 모르겟지만 tcp를 이용해서 메일 서버와 연결을 한 뒤에 메일을 전송하는 방법이다.
- 메일 서버와 연결 하기 위해서는 createTransport 메소드를 이용해야 한다.
- 메일 서버와의 연결은 한번만 해도 되므로 라우트에서 transporter를 매번 생성하지 않도록 하자.
let transporter = nodemailer.createTransport(options[, defaults]);- createTransport의 주로 사용되는 옵션으로는 다음이 있다.
- port : 메일 서버에 연결할 포트 번호이다.
- host : 메일 서버의 hostname이다. 메일 서버의 ip 주소를 입력하여도 된다.
- auth : 메일 서버에 인증을 하기위한 객체이다.
- secure : SMTP를 이용하여 서버에 연결할 시, TLS를 사용한다. 주로 port 번호를 486으로 할 시에는 사용하고, 그렇지 않을 시에는 사용하지 않는다.
- disableFileAccess : 서버 내의 파일에 접근할 수 있는지 여부.
- disableUrlAccess : 메일에 url을 첨부할 수 있는지 여부.
let transporter = nodemailer.createTransport({ host: "smtp.gmail.com", port: 587, secure: false, // upgrade later with STARTTLS // port가 486일시에 true auth: { user: "username@gmail.com", pass: "password", }, });- createTransport 메소드를 호출하면 메일 서버에 연결이 된다.
- 메일 서버와의 지속적인 연결 여부를 콜백 함수로 확인할 수도 있다.
- 연결이 끊기면 다시 연결하는 방식으로 코드를 짜면 된다.
transporter.verify(function (error, success) {
if (error) {
  console.error("메일 서버와의 연결이 끊어졌습니다. 재 연결을 시도 합니다.");
  transporter = create_transporter();
} else {
  console.log("메일 서버 정상적으로 연결되어 있습니다.");
}
});
메시지 전송
- 메일 서버와 연결이 되었다면 message 객체와 transporter를 이용해서 메일을 전송하면 된다.
transporter.sendMail(message, (error, info) => {
  if (error) {
      console.log('Error occurred');
      console.log(error.message);
      return process.exit(1);
  }
  console.log('Message sent successfully!');
});
message 객체
- 메일을 전송하기 위한 정보를 담은 객체이다.
- from : 보내는 사람의 이메일.
- to : 받는 사람의 이메일. 콤마로 여러사람에게 전송 가능. ex) “lee0301jy@naver.com”, “lee0301jy@gmail.com”
- subject : 이메일의 제목
- text : 이메일 내용
- html : 이메일 내용 html이 있을 경우 text는 무시?
- attachments : 이메일에 첨부할 파일을 나타낸다.
- attachDataUrls: true 일 경우 html에 있는 이미지 데이터들을 attachments로 전환시켜준다.??
- amp : 메시지의 html 엔진
const htmlstream = await fs.createReadStream("content.html"); // await를 통해서 다 읽인 후에 메일을 보내야만 한다.
transport.sendMail({ html: htmlstream }, function(err) {
if (err) {
  // check if htmlstream is still open and close it to clean up
}
});
const message = { from: 'Nodemailer <example@nodemailer.com>', to: 'Nodemailer <example@nodemailer.com>', subject: 'AMP4EMAIL message', text: 'For clients with plaintext support only', html: '<p>For clients that do not support AMP4EMAIL or amp content is not valid</p>', amp: `<!doctype html> <html ⚡4email> <head> <meta charset="utf-8"> <style amp4email-boilerplate>body{visibility:hidden}</style> <script async src="https://cdn.ampproject.org/v0.js"></script> <script async custom-element="amp-anim" src="https://cdn.ampproject.org/v0/amp-anim-0.1.js"></script> </head> <body> <p>Image: <amp-img src="https://cldup.com/P0b1bUmEet.png" width="16" height="16"/></p> <p>GIF (requires "amp-anim" script in header):<br/> <amp-anim src="https://cldup.com/D72zpdwI-i.gif" width="500" height="350"/></p> </body> </html>` }- attachments 를 이용하면 첨부파일 뿐만 아니라 html에 로컬 이미지 파일을 넣을 수도 있다.
- 이를 위해서는 cid 필드를 이용한다.
const message = {
  from: `"Nodemailer <example@nodemailer.com>`, // sender address
  to: `Nodemailer <example@nodemailer.com>`, // list of receivers
  subject: "AMP4EMAIL message", // Subject line
  text: `For clients with plaintext support only`, // plain text body
  html: `
      <p>Here's a nyan cat for you as an embedded attachment:<br/><img src="cid:nyan@example.com"/></p>
      `, // html body
  attachments: [
      {
          filename: 'nyan cat ✔.gif',
          path: __dirname + '/assets/nyan.gif',
          cid: 'nyan@example.com' // should be as unique as possible
      }
  ]
}